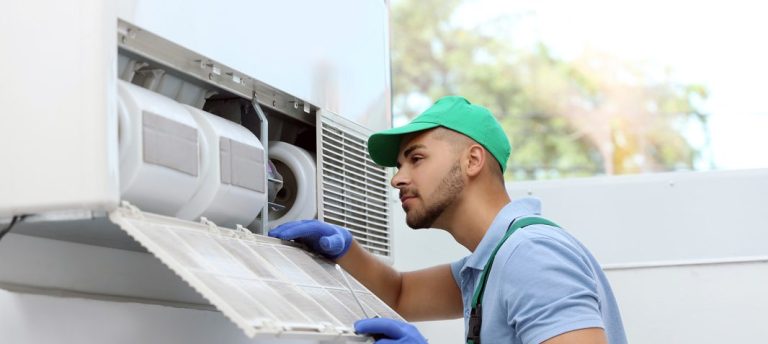
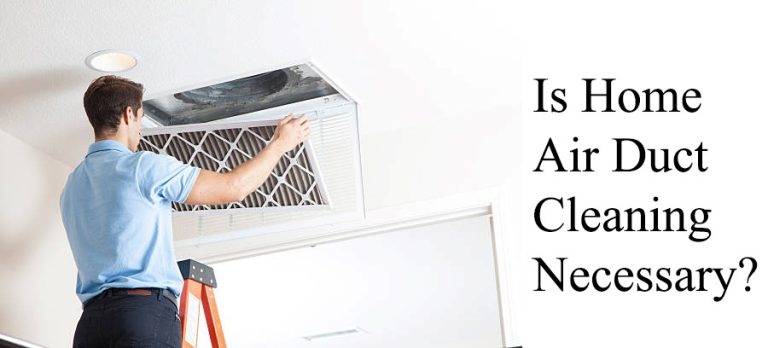
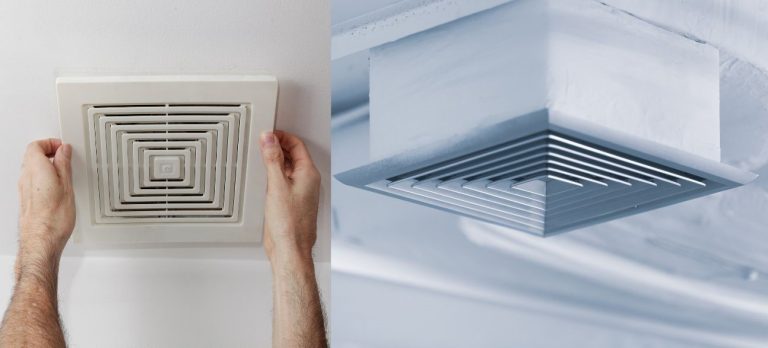
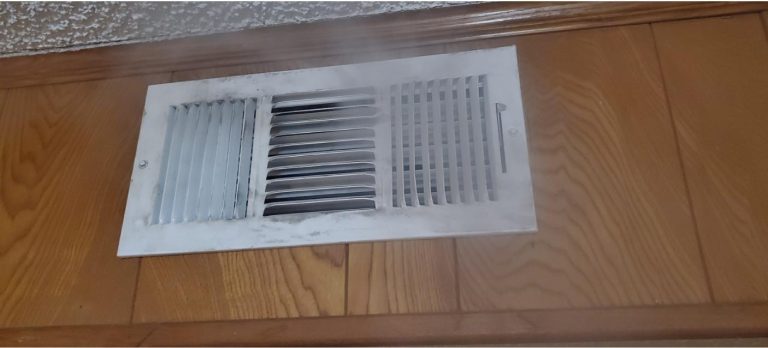
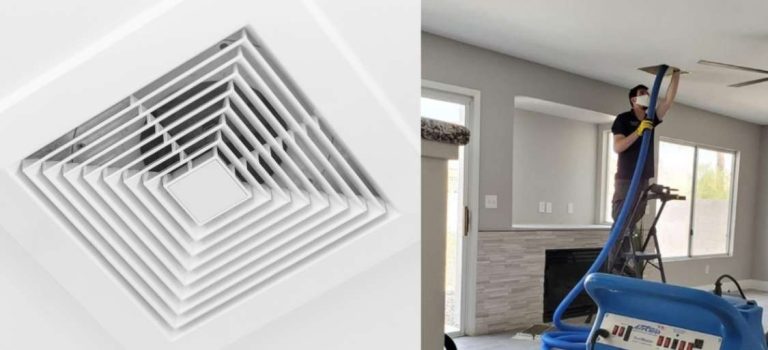
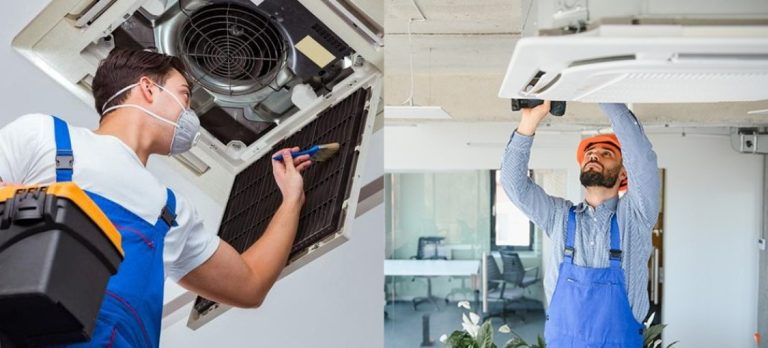
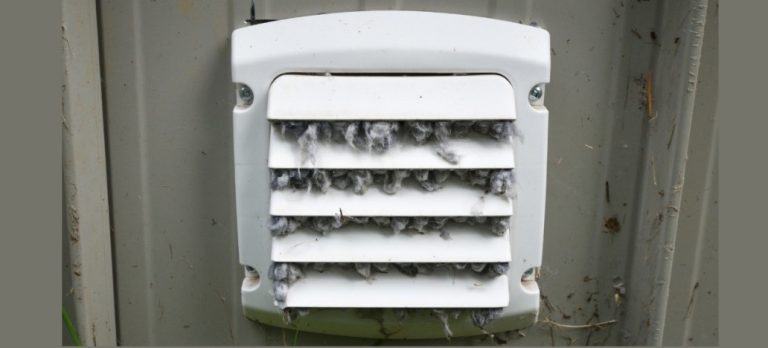
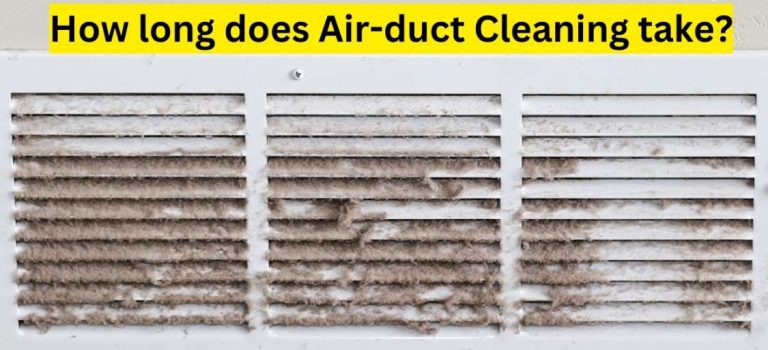
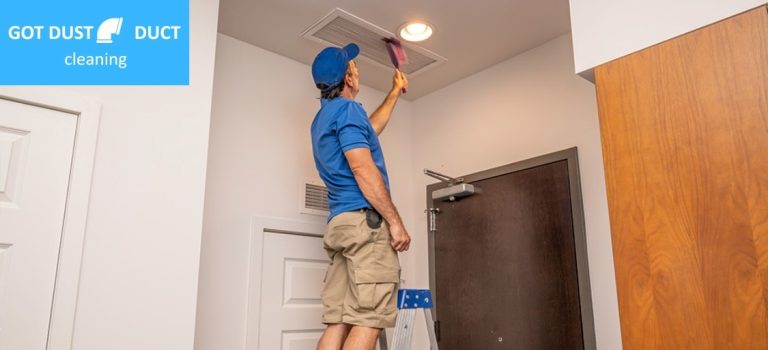
To clean air conditioner ducts, start by turning off the unit and removing the vent covers. Use a vacuum with a brush attachment to remove dust and debris from the ducts. For stubborn dirt, consider using a damp cloth or a duct cleaning brush. Ensure all surfaces are dry before replacing the vent covers and turning the unit back on. Regular maintenance helps improve air quality and efficiency.
When it comes to maintaining a healthy indoor environment, cleaning your air conditioner ducts is a crucial step. Over time, dust, debris, and even mold can accumulate in these ducts, compromising the air quality in your home or office. In this guide, we’ll walk you through the process of cleaning your air conditioner ducts step by step, whether you choose to tackle it yourself or hire a professional .
What is an Air Duct?
Before diving into the cleaning process, let’s understand what air ducts are. Air ducts are pathways through which air flows in and out of your HVAC (Heating, Ventilation, and Air Conditioning) system. They distribute conditioned air throughout your space, ensuring comfort and maintaining indoor air quality.
what is Air Conditioner Ducts
Air conditioner ducts are channels or passages used in heating, ventilation, and air conditioning (HVAC) systems to distribute cooled or heated air throughout a building or structure. These ducts are typically made of metal, fiberglass, or other durable materials and are designed to efficiently transport air from the central air conditioning unit to various rooms or areas within a building.
The ducts serve as conduits through which air flows, regulated by the HVAC system’s fan and controls. They are usually installed within walls, ceilings, or floors, hidden from view to maintain the aesthetics of the building. Air conditioner ducts come in different shapes and sizes, including rectangular, round, and oval, depending on the specific requirements of the HVAC system and the building’s design.
Properly designed and installed duct work is essential for ensuring efficient cooling or heating and maintaining indoor air quality. Ducts must be insulated to prevent energy loss and condensation, and they should be sealed tightly to prevent air leaks, which can reduce system efficiency and compromise comfort levels. Regular maintenance and cleaning of air conditioner ducts are also important to prevent the buildup of dust, allergens, and other contaminants that can affect indoor air quality and system performance.
Things You Will Need To Do Air Duct Cleaning
To clean your air ducts effectively, you’ll need a few essential tools and supplies:
- Vacuum cleaner with a hose and brush attachment
- Screwdriver
- Cleaning brush or duct cleaning tool
- Protective gear such as gloves and a mask
- Cleaning solution or disinfectant (if addressing mold or microbial growth)
How To Do Air Duct Cleaning?
Ensure that all access points are properly sealed after cleaning to prevent recontamination. Conduct regular inspections and maintenance to uphold air quality standards and maximize HVAC system efficiency. Hiring certified professionals for commercial duct cleaning ensures thoroughness and adherence to safety regulations.
Step 1: Gather the Necessary Tools and Equipment
Before starting the cleaning process, gather all the tools and equipment listed above. Having everything prepared will make the process smoother and more efficient.
Step 2: Turn Off the HVAC System
Safety first! Turn off your HVAC system to prevent any accidental activation while you’re working on the ducts. You don’t want dust and debris circulating throughout your space during cleaning.
Step 3: Remove Vent Covers And Access Panels
Using a screwdriver, carefully remove the vent covers and access panels from your air ducts. Set them aside for cleaning later.
Step 4: Protect The Surrounding Area
Lay down protective coverings on nearby surfaces to catch any debris or dust that may fall during the cleaning process. This will make cleanup easier afterward.
Step 5: Vacuum Loose Debris From Your Air Ducts
Using a vacuum cleaner with a hose and brush attachment, gently vacuum any loose debris or dust from the air ducts. Pay special attention to corners and crevices where dirt tends to accumulate.
Step 6: Use Air Duct Cleaning Tools
If you have a duct cleaning tool or brush, use it to dislodge stubborn dirt or debris stuck to the walls of the ducts. Work systematically through each duct, ensuring thorough cleaning.
Step 7: Clean The Registers And Grilles
While the ducts are drying, clean the vent covers and grilles you removed earlier. Use a damp cloth or cleaning solution to wipe away any dirt or grime.
Step 8: Inspect And Address Mold Or Microbial Growth
If you notice any signs of mold or microbial growth during cleaning, it’s essential to address it promptly. Use a suitable cleaning solution or disinfectant to eliminate mold and prevent its recurrence.
Step 9: Reassemble And Secure
Once the cleaning is complete, reassemble the vent covers and access panels securely. Ensure everything is tightly sealed to prevent air leaks.
Step 10: Dispose of Waste
Dispose of any waste or debris collected during the cleaning process responsibly. Bag it securely and dispose of it according to local regulations.
DIY Air Duct Cleaning Vs. Professional Air Duct Cleaning
While DIY air duct cleaning can be effective for routine maintenance, some situations may require professional intervention. Professional air duct cleaning services have specialized equipment and expertise to tackle stubborn dirt, mold, or microbial growth effectively. Consider your specific needs and the condition of your air ducts when deciding between DIY and professional cleaning.
In conclusion, regular air duct cleaning is essential for maintaining a healthy indoor environment. By following the steps outlined in this guide, you can ensure that your air conditioner ducts remain clean and free of contaminants. Whether you choose to tackle the task yourself or enlist professional help, prioritize the cleanliness of your air ducts for optimal indoor air quality.

